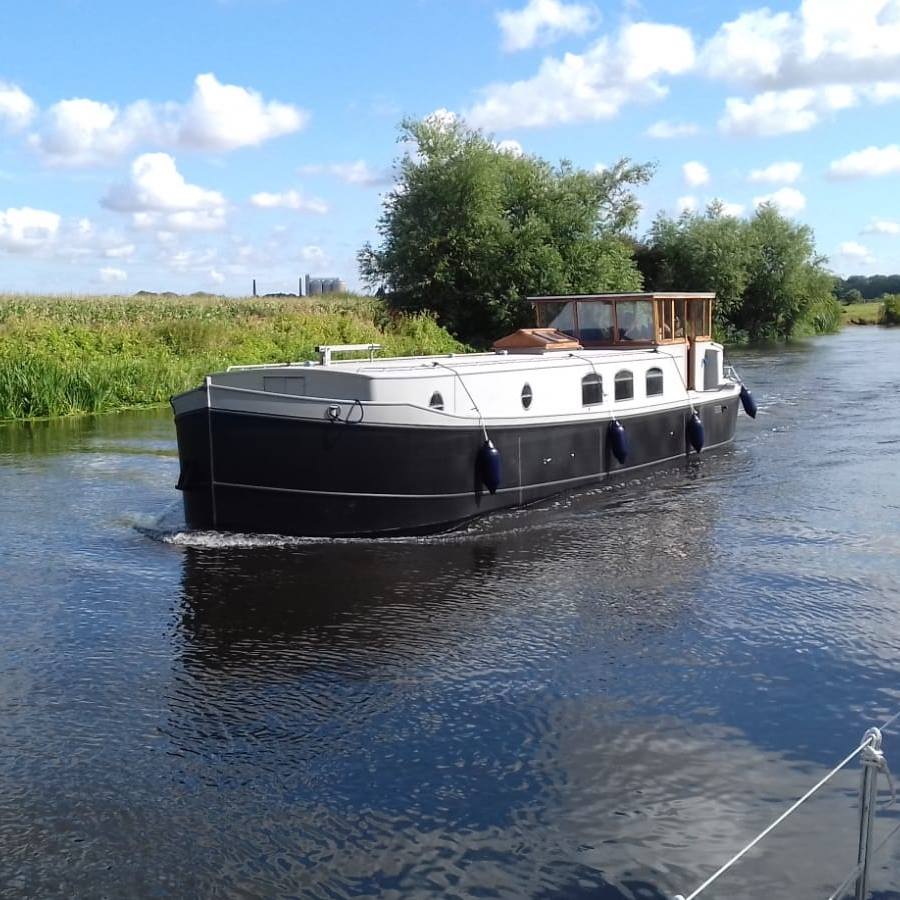
When you trust White Rose Boats to paint your narrowboat or widebeam, you are investing in trade-grade protection and a showroom finish that endures the rigors of the UK canal network.
We understand that a flawless paint job is 80% preparation, which is why we strictly control environment, temperature, and surface treatment—meticulously degreasing, shot-blasting or flatting down to bare metal, and building up high-grade primer and undercoats. Whether applying traditional hand-rolled enamel with hand-painted signwriting or high-performance spray-applied two-pack (2K) polyurethane topcoats, our specialist painters achieve a smooth, weather-resistant barrier with superior UV stability.
Complete with professional hull blacking and anode fitting below the waterline, White Rose Boats ensures your boat not only turns heads along the towpath but remains fully guarded against rust and corrosion for years to come.
Painting a steel narrowboat or widebeam is a multi-stage process where preparation accounts for 70–80% of the effort. Because steel exposed to the UK’s damp, fluctuating climate is prone to rapid oxidation and corrosion, applying a long-lasting finish requires precise surface treatment, high-performance marine coatings, and careful environmental control.
The complete painting process is broken down below from initial strip-down to final signwriting:
1. De-Fitting & Surface Stripping
Before applying any paint, the vessel must be properly prepared:
- Removal of Hardware: Windows, mushroom vents, handrail fittings, brasses, rope fenders, and navigating lights are removed to prevent paint buildup around edges.
- Degreasing: The cabin and decks are scrubbed with degreasers and panel wipes to remove road film, diesel soot, tree sap, and silicone residues.
- Paint Removal:
- Professional Grade: High-pressure shot-blasting or grit-blasting strips all existing coats down to bare, white steel (Sa2.5 standard).
- DIY / Refurbishment: Mechanical sanding (rotary sanders with 80–120 grit abrasives) or needle guns are used to feather back damaged paint and scrape off surface rust down to sound metal.
2. Priming & Fairing (Corrosion Protection)
Once bare steel is exposed, it must be sealed rapidly to prevent flash rusting:
- Etch & Epoxy Primers: High-build two-pack (2K) epoxy primers or zinc phosphate primers are applied (either sprayed or rolled) to seal the steel and provide a chemical bond.
- Filling & Fairing: Microballoon or epoxy fillers are applied over pitted steel, weld seams, or indentations. Once cured, these areas are flatted back with 180–240 grit sandpaper until smooth.
- Barrier Priming: A second full primer coat is applied over the filled areas to uniform the surface profile.
3. Undercoating & Flattening
Undercoats establish the color depth, film thickness, and mechanical key for topcoats:
- Application: 2 to 3 layers of high-build marine undercoat matching the final topcoat hue are applied.
- De-dusting & Flatting: Between each coat, the surface is wet- or dry-sanded (320–400 grit) to remove micro-nib imperfections, dust inclusions, or roller stipple. A tack cloth is wiped over the steel prior to the next coat.
4. Topcoat Application (Gloss / Coachwork)
The finishing coats provide the aesthetic sheen, UV protection, and barrier against weather:
- System Choice:
- Traditional Alkyd Enamel: Typically applied using the “roll and flat” technique—where paint is rolled on with foam rollers and immediately layed off horizontally using a high-quality badger-hair or synthetic brush.
- 2-Pack Polyurethane / Polyester: Applied in heated, temperature-controlled spray booths for a mirror-like factory finish.
- Coating Depth: 2 to 3 coats of marine topcoat are laid down, achieving a cumulative dry film thickness (DFT) exceeding 150–200 microns for optimal lifespan.
5. Coachlines, Signwriting & Detailing
- Masking & Secondary Colors: Fine-line vinyl tape is used to lay out contrasting coachlines, roof edges, and panel borders.
- Hand-Painted Signwriting: Traditional “Roses & Castles” artwork, boat names, registry numbers, and decorative flourishes are hand-lettered by a signwriter using specialized enamel paints.
- Clear Lacquer / Varnish (Optional): Some builds receive an overarching protective UV-resistant clear coat over the graphics.
6. Below-Waterline Protection (Hull Blacking)
While the topsides are being painted, the submerged hull steel is treated separately:
- Blacking System: Applied from the gunwales down to the base plate.
- Traditional Bitumen: Applied in 2–3 thick coats (re-application required every 2–3 years).
- Two-Pack Epoxy Blacking: Applied to shot-blasted steel for long-term protection (lasts 6–8+ years).
- Anode Replacement: Magnesium anodes are welded to the hull to protect the drive train and steel hull from galvanic corrosion.
Key Factors for Success
- Environmental Control: Ideal painting temperature is between 12°C and 20°C with relative humidity below 80%. Direct sunlight or falling evening dew during curing will dull the gloss finish.
- Cure Time: Fully synthetic or 2K marine paints take 7 to 14 days to fully cure and harden before heavy use or re-attaching fenders.